
Batch Tag Creation
Once you have created your websites, to create multiple tags, just click the "Add Multi-Tag" Button at the top of the Tags Management Table.
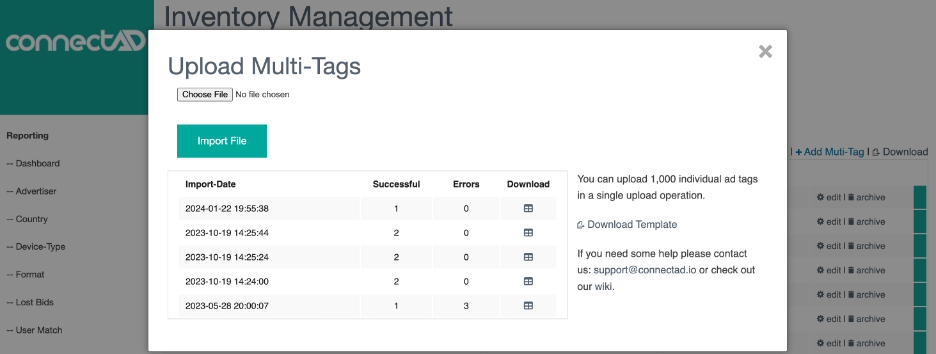
Click the “Download Template” button to download the Template file that needs to be filled.
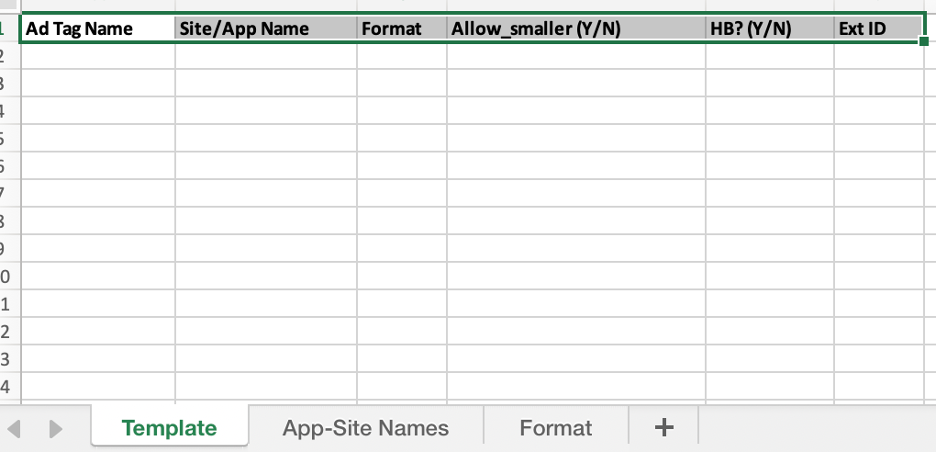
Here are the columns that need to be filled:
Ad Tag Name: The name you wish to use for each Tag (example: TopBanner-MainPage)
Site/App Name: This is the name of the Website where the tag belongs.
All available sites can be found under the “App-Site Names” tab.
The exact same name should be used. Note that the websites must be created before proceeding with the tag creation (and downloading the template).
Format: The options can be found under the “Format” tab. In case of integrations where the formats are defined in the ad request (PreBid and oRTB for example). Please use Universal Size (Header-Bidding) by entering 0x0 in the Format cell.
Allow_smaller: Should always be set to Y unless you work with an AdTag integration. Detailed information can be found here.
HB? (Y/N): Should be set to Y in case of PreBid integrations otherwise, can be set to N. Detailed information can be found here.
Ext ID: In most case should be left blank. Relevant only for specific oRTB integrations. Please contact us for more information.
Once the template is completed, save the file, and go back to our dashboard. Select the file and click “Import File”.
The results of your upload with a detailed report will appear instantly.
